Shop Online

Scuba diving opens up a world of adventure, but it’s also a sport where safety and reliability can never be taken for granted. One of the most critical pieces of equipment in ensuring a safe and enjoyable experience underwater is the air tank. Proper air tank maintenance not only ensures your safety but also extends the life of your equipment, saving you money in the long run.
This blog will serve as a comprehensive guide to maintaining your scuba air tank, including step-by-step instructions for visual inspections, hydrostatic testing, valve maintenance, and proper storage techniques.
Dive in (pun intended!) and learn how to take better care of your scuba gear.

Regular visual inspections are the first step in maintaining an air tank. This process helps you identify visible damage, which, if left unaddressed, could compromise your safety or reduce the lifespan of the tank.
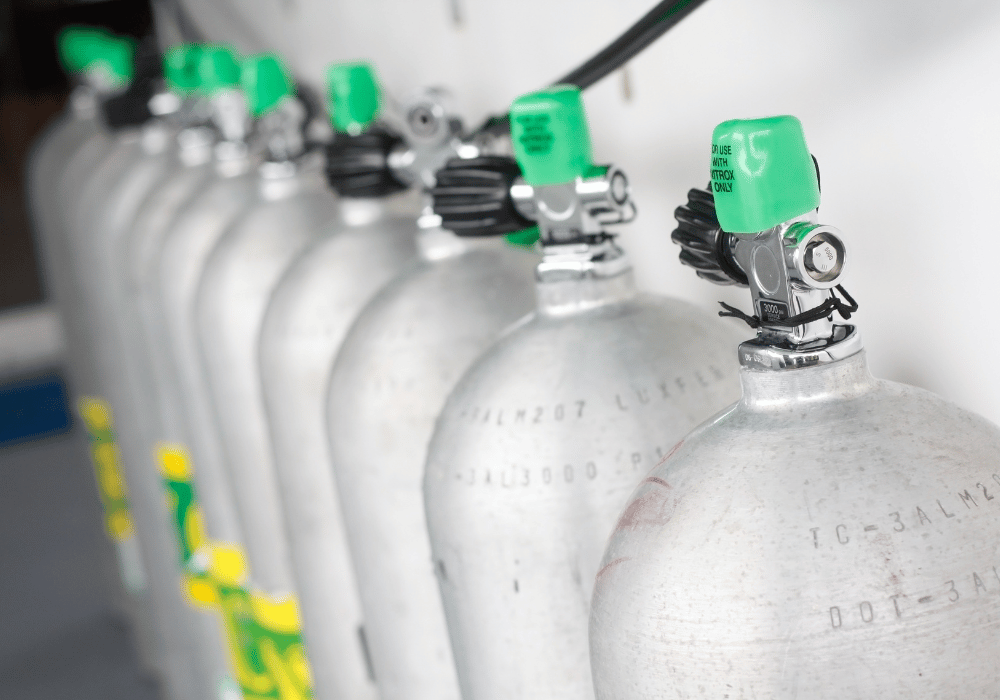
During a visual inspection, you’ll want to look for external signs of wear and tear, including rust, corrosion, cracks, dents, or any irregularities in the paint. These signs could indicate issues with the tank’s structural integrity. Don’t forget to remove the protective tank boot (if one is used) and check underneath it, as this area is often missed and can trap moisture, leading to concealed rust or corrosion. Additionally, ensure the tank’s label or hydrostatic test markings are legible, as this confirms the legality and safety of the tank for use.
It’s equally important to inspect the tank internally if you have the tools and expertise to do so. Small amounts of moisture or corrosion can develop inside the tank after dives, especially if it wasn’t fully dried or purged beforehand. To perform an internal inspection, many divers use specialized lights and mirrors, but if you’re unsure, this inspection is better left to a professional technician.
The frequency of visual inspections depends heavily on how frequently you use your tank. It is recommended to inspect it every time you use it, especially before a long trip or challenging dives. A formal visual inspection by a certified technician should be conducted annually. Never skip this step; even minor-looking damage could turn into a serious hazard under high pressure.
Hydrostatic testing is one of the most critical and regulated components of air tank maintenance. Unlike visual inspections, which check for surface damage, hydrostatic testing ensures that your tank can hold pressure safely without risking structural failure.
The process involves filling the tank with water and placing it inside a pressure chamber. High water pressure is applied to the tank, simulating its maximum pressure capacity. The tank’s expansion is then measured to ensure it is within acceptable limits. If the tank expands beyond safe tolerances, it is no longer safe for use and must be replaced.
Different countries have varying regulations for testing frequency, so always confirm the requirements wherever you’re diving. For example, in North America, hydrostatic testing is typically required every five years. Be sure to check the hydrostatic test date stamped on your tank. If it’s approaching its expiration or has already expired, don’t use the tank until it has been tested and recertified.
Testing must be conducted by certified professionals in licensed facilities; this isn’t something you can DIY. By adhering to this schedule, you’re not only ensuring your own safety underwater but also prolonging the life of your air tank. A properly tested tank significantly reduces the risk of catastrophic failures that could occur due to unseen structural weaknesses.
The air tank valve is a small yet essential part of the system that requires regular care. A damaged or poorly maintained valve could result in leaks, difficulty regulating airflow, or even failure during a critical moment.
A key aspect of valve maintenance is keeping it clean. Saltwater, sand, and other debris can accumulate on or inside the valve after dives. To clean the valve, rinse it thoroughly with fresh water after every use, ensuring no salt or mineral deposits remain. Allow it to dry completely before attaching any covers or accessories to avoid trapping moisture.
Lubrication is another crucial step. Use a high-quality, oxygen-compatible lubricant sparingly on the threads of the valve to keep it operating smoothly. Never use standard oils or greases, as they can degrade the valve components or create safety hazards when combined with oxygen under high pressure.
It’s also essential to have your valve professionally serviced at least once a year. This involves checking for internal wear, replacing O-rings, and recalibrating the valve to ensure optimal performance. A professional technician will also pressure-test the valve to confirm its safety and efficiency. Skipping this step could result in inefficient operation or even total failure during use.

Storing your air tank correctly is vital to maintain its long-term integrity. Neglecting proper storage practices can lead to faster wear and tear, even when the tank is not in use.
The first element to consider is environmental conditions. To prevent rust and corrosion, tanks should always be stored in a cool, dry place away from direct sunlight and humidity. Prolonged exposure to sunlight can degrade the paint and increase the risk of corrosion, while damp environments encourage rust. A climate-controlled storage area is ideal for ensuring your tank stays in peak condition.
Tank orientation also plays a role in proper storage. While opinions vary, it’s generally advisable to store tanks upright or lying horizontally, depending on the situation. If stored upright, ensure the tank is securely fastened to prevent it from tipping over, which could damage the valve or tank body. If stored horizontally, ensure it’s lying on a padded, clean surface away from floor moisture. Leaving the tank pressurized at approximately 30-50 bar (500-700 psi) is another best practice, as it prevents internal moisture from entering and causing corrosion.
Finally, ensure you visually inspect the tank periodically, even while it’s in storage. Rust, debris, or valve issues can arise whether the tank is actively used or not. A few minutes of care every few months can save you from costly repairs or replacements in the future.
Proper air tank maintenance isn’t just about preserving your equipment; it’s about protecting your life and those you explore underwater with. From rigorous visual inspections to professional hydrostatic testing and valve servicing, every aspect of maintenance contributes to the durability and reliability of your tank. Contact us today to learn more about how we can support your scuba adventures with premier maintenance services. Safe diving starts here!

We are Essex County’s only PADI 5-Star Instructor Development Center!